Creating 3D logo from Illustrator type using StudioPro Blitz
|
ACG Home |
Instructor Home |
Class Home |
list of tutorials |
StudioPro Blitz is the latest, PowerMac-only version of a long-standing 3D software. Unlike other programs we have seen before, it is not the clear winner in its field since the 3D marketplace is very fragmented. It does, however, follow the user interface approach used by all the dominant players, and it embodies all the major aspects of 3D work: modeling, rendering, and animation.
Basic Operation:
- Change the configuration of the computer for 3D work:
- Use Apple-->Control Panels-->Extensions Manager

- Special-->Restart
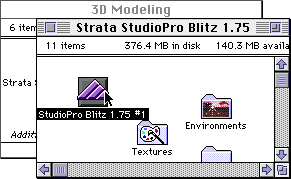
- Find the application icon in the 3D Modeling folder and start the program:
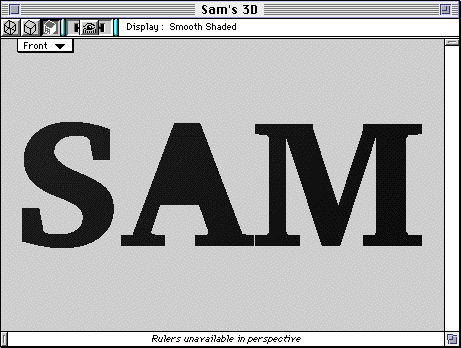
- Use File-->Open to import the Illustrator 1.1 file containing the type you modified for your logo.
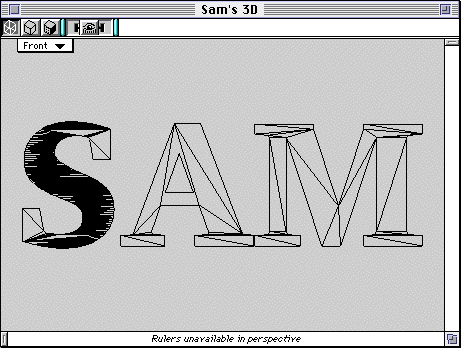
- Click on the icon at the top-left of the document window to switch to wireframe view:

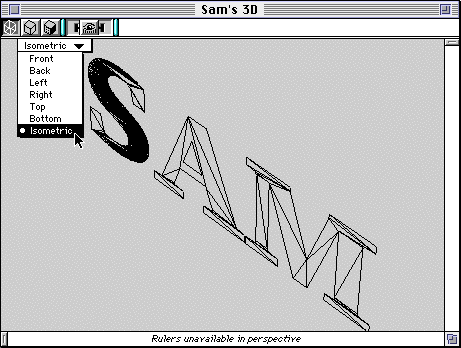
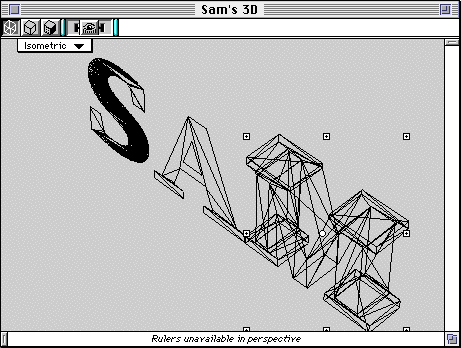
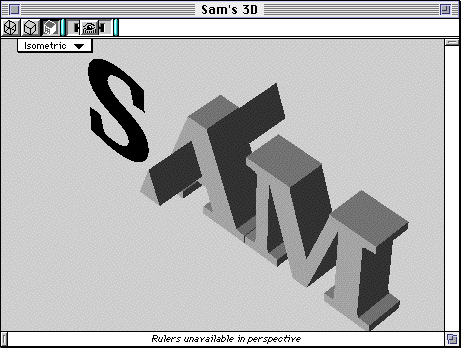
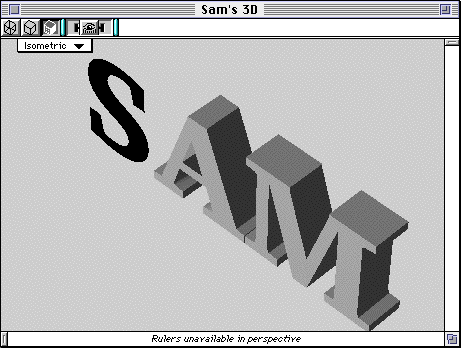
- You can switch to isometric view to verify that the type is a flat object. Make sure to return to Front view afterwards.
- Make sure the selection tool (top-right of Toolbox) is active:

- Now select one of the letters without "holes" (letters without holes are the 'T' and the 'y'; letters with holes are the 'O' and the 'p'):

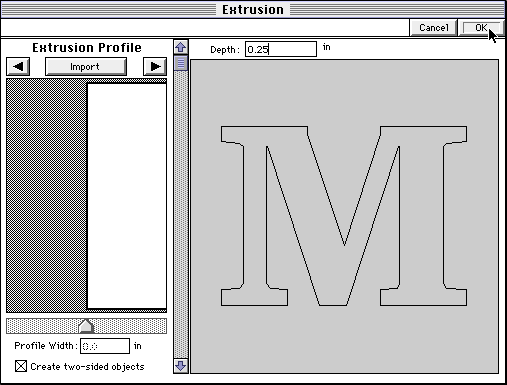
- Use Modeling-->Swept Surfaces-->Extrude. In the dialog, make sure that the rectangular (default) profile is visible on the left, and that "Create Two-Sided Objects" is checked. Enter the thickness of the letter in the "Depth" field (0.25 inches seems like a good starting point for letters created in Illustrator at 72 points size). Click "OK".
- The selected letter is now a 3D object, since Extrude added thickness to it. Look at it in Isometric view to check. Make sure to return to Front view afterwards.

- Now select a letter with "holes" (another example is the letter 'B', which has two "holes")

- Use Modeling-->Ungroup to separate its components. Afterwards, click away from all objects to deselect

- Select the "hole" shape only.
- Use Modeling-->Swept Surfaces-->Extrude again. In the dialog, leave all settings the same as before, but enter a large thickness in the "Depth" field (e.g., 1 inch). Click "OK". The result is a long "beam" extending back from the cluster of letters. After viewing it in Isometric view, return to Front view.

- Now select the outer outline of the letter. Use Modeling-->Swept Surfaces-->Extrude once again, changing only the "Depth" field to the normal thickness of your letters (e.g., 0.25 inches). Click "OK".

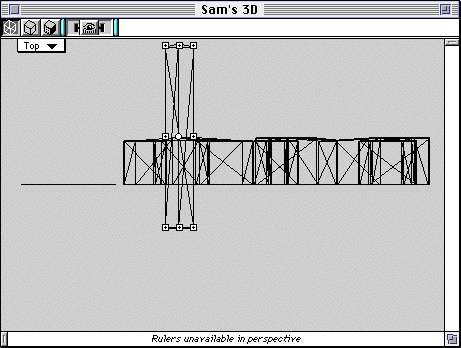
- Switch to Top view, select the "beam" extending from the letter and move it down to make sure it goes right through the front surface of the letter
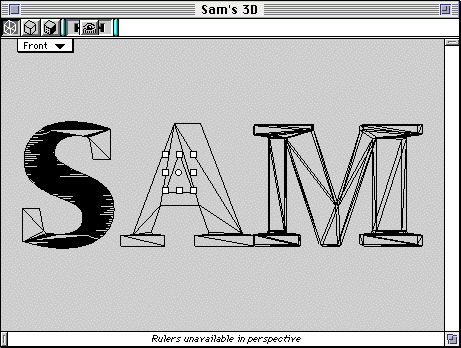
- You are now ready to carve a hole out of the letter, using the "beam" as your cutting tool. This process is called a Boolean subtraction. To verify that all is set up right, switch to Smooth Shaded mode (third icon from the left at the top of the document window) and Isometric view.
- Use Modeling-->Boolean Modeler. In the dialog, select the letter's outline in the list on the left, select the letter's hole in the list on the right, then choose "Subtraction" in the pop-up menu at the bottom-left. Click OK.
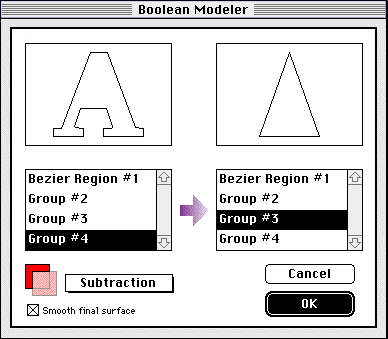
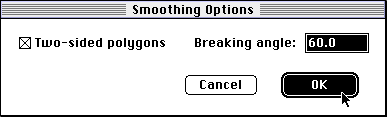
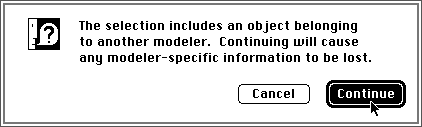
- Click OK, then Continue in the two dialogs that follow
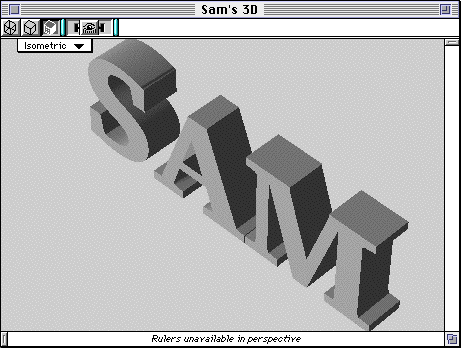
- You now have a 3D letter with a hole in it
- Continue processing additional letters in the same manner, until all have been turned into 3D objects (make sure to always return to Front view before using the Extrude command)
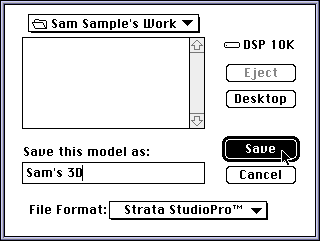
- Make sure to save your work: File-->Save As, choose StudioPro format, enter a new name so as not to overwrite your Illustrator file.
Additional Info:
- Documentation on the latest additions to StudioPro, including the VRML features, is available in Acrobat format on the ACG lab file server (GX), in the Manuals folder.
- The Art Computer Graphics program of Fullerton College offers two classes covering 3D topics, ACG120:
3D Computer Graphics for Macintosh and ACG150:
3D Computer Animation for Macintosh. Look them up in our class schedules.
Last modified 26JUN96 by Sandro Corsi